
Novice’s Handbook for Sketching with Colored Pencils: All You Require to Begin
Getting Started with Colored Pencil Artwork: A Newcomer’s Guide to Unlocking Your Imagination
Whether you’re an emerging artist or simply interested in trying out a new art form, mastering colored pencil drawing can be an enjoyable and fulfilling journey. Although diving into any form of art may seem daunting at the outset, the experience becomes much more manageable when you possess the proper tools, essential knowledge, and encouragement along the way.
To aid newcomers in their creative endeavors, My Modern Met Academy is unveiling a cutting-edge online course called Colored Pencil for Beginners. Instructed by experienced artist Matheus Macedo, this course aims to clarify the colored pencil technique and assist you in crafting vivid, lifelike illustrations from the basics.
Even more exciting: Until April 14, 2025, you can take advantage of a 10% discount on the course’s standard price of $34.95 by using the promo code COLOREDPENCIL10. Pre-register now to ensure you receive full access once the course launches on April 15, 2025—and embark on your artistic journey with assurance.
To kickstart your experience, here’s a brief guide that covers the essentials of using colored pencils.
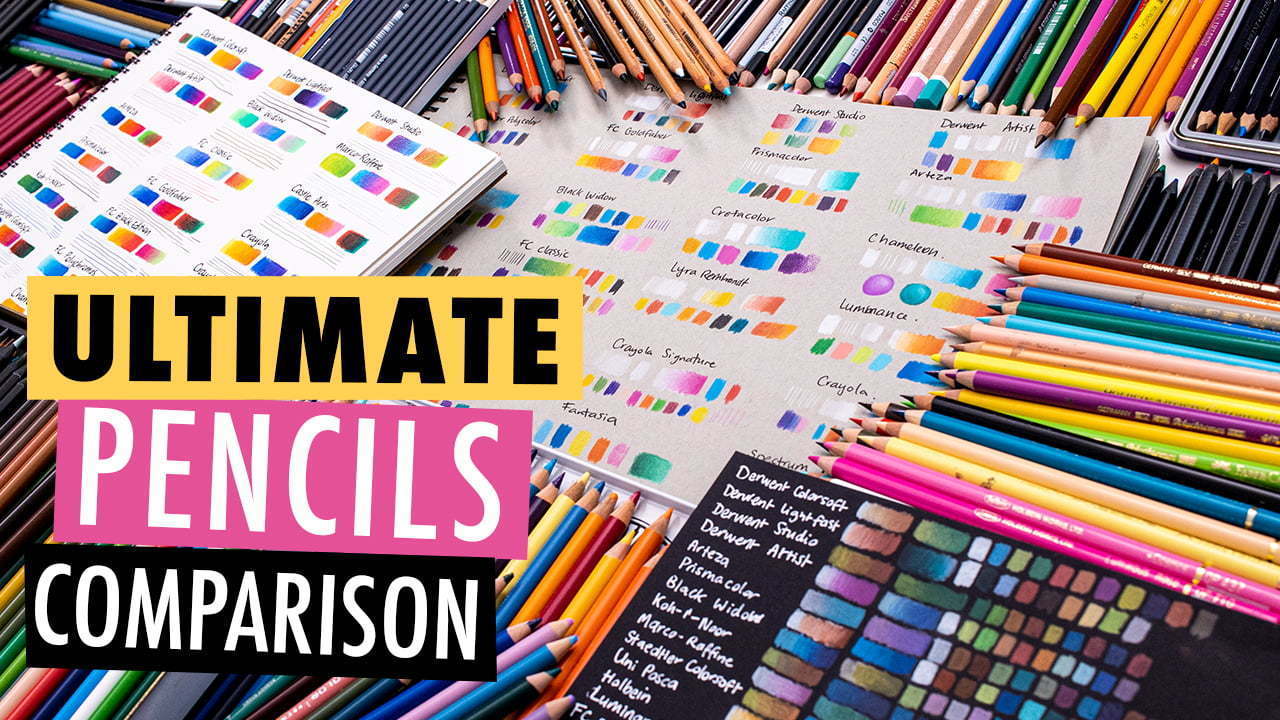
Selecting the Appropriate Colored Pencils
One of the initial factors to consider is the kind of colored pencil you choose. Unlike standard graphite pencils, colored pencils are created with either oil-based or wax-based cores. These compositions affect how fluidly the color applies to paper and how well it mixes with other shades.
– Wax-based pencils (such as Prismacolor) provide rich color saturation and are generally softer, making them better suited for blending and layering.
– Oil-based pencils (like Faber-Castell’s Polychromos) are typically firmer but allow for better control and minimal wax bloom.
As a novice, there’s no need to splurge on a costly set with dozens of colors. A basic starter set containing 12–24 quality pencils from a reputable brand will enable you to experiment with a wide array of techniques while keeping your palette manageable.
Recognizing Pencil Hardness
Colored pencils come with varying degrees of hardness, impacting your ability to layer and the visual texture of your work. Softer pencils usually blend more effectively and provide vibrant coverage, whereas harder pencils offer enhanced detail capabilities. Depending on your style—whether realistic or abstract—you’ll find an optimal balance that suits your preferences.
And remember: simplicity is key. Choosing a smaller set encourages you to deepen your grasp of color theory, including optical blending (the technique of layering two colors closely or overlapping to produce the illusion of a third).
Choosing the Ideal Paper
While your pencils take center stage, the paper you select will significantly affect the quality of your artwork. For colored pencil drawings, paper with a slight “tooth” or texture helps retain the pigments more effectively.
Opt for a heavier-weight paper (generally above 100 lb or 160 gsm) that is acid-free and suitable for dry media. Consider these elements:
– Texture: Smooth papers are ideal for intricate details, while rougher papers lend themselves to more expressive shading.
– Color: While white paper is conventional, colored or toned papers can introduce exciting aesthetic options.
Before finalizing your work, take time to test your colors and techniques on a sample sheet of the same paper you plan to use.
Mastering Color Blending Techniques
Blending is essential for achieving professional-quality colored pencil artwork. There are numerous methods to blend, and practicing them will enhance your control over tone and value:
– Layering: Gradually overlay different shades to construct depth and new tones.
– Burnishing: Apply heavy pressure with a colorless blender or white pencil to meld the colors.
– Solvent blending: More experienced users may employ products like odorless mineral spirits to dissolve and merge pigment layers.
An easy and effective method is using a white colored pencil for blending. Apply your foundational layers, then gently blend them using back-and-forth or circular motions with the white pencil to ensure seamless transitions.
The Value of Practice and Patience
No artist achieves mastery overnight—especially not with a medium as intricate and delicate as colored pencils. Start small: doodle, sketch simple shapes, and practice layering and blending on test sheets before undertaking larger projects.
Don’t hesitate to make mistakes and experiment. This is your chance to try different brands, utilize new tools like blending stumps or erasers, and observe how each adjustment affects your final piece.
Eager to Learn More?
In the Colored Pencil for Beginners course by My Modern Met Academy, you’ll explore all these fundamental concepts and much more through guided video lessons by Matheus Macedo, an award-winning realistic pencil artist. This class is ideal for anyone new to the medium or seeking to enhance their core techniques in a structured, beginner-friendly manner.
Visit the course page and apply code COLOREDPENCIL10 before April 14, 2025, to receive