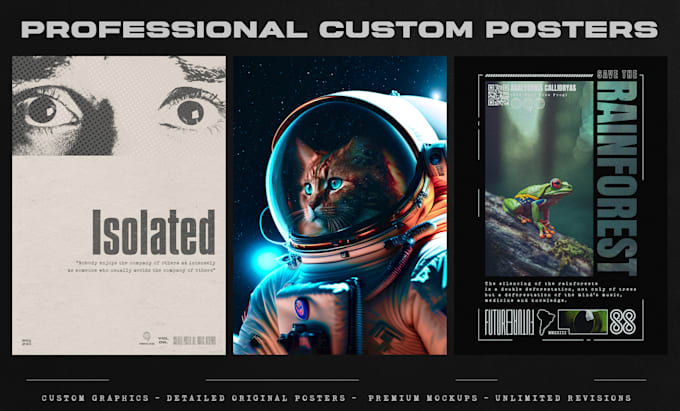
Guide to Creating a Custom Displate

**Guide to Creating a Custom Displate**
Metal posters, such as those offered by Displate, have become increasingly popular due to their durability, unique appearance, and the vibrant display they provide. For those looking to express personal style or showcase specific art, creating a custom Displate is an ideal option. This guide will walk you through the process of crafting a custom Displate that perfectly suits your taste.
### Understanding Displate
Before diving into the creation process, it’s essential to understand what a Displate is. Displates are high-quality metal prints that come with a magnetic mounting system, allowing for damage-free installation and easy rearrangement. They are commonly chosen for their sleek look and resilience compared to traditional posters.
### Steps to Creating a Custom Displate
**Step 1: Setting Up an Account**
To create a custom Displate, start by visiting the Displate website and setting up an account. Doing so will allow you to upload your artwork, manage orders, and track the delivery process.
**Step 2: Choosing the Right Artwork**
Select an artwork that you want to transform into a Displate. This could be anything from a personal photograph, digital art, or a cherished painting. Ensure that the image is of high resolution (preferably 300 DPI) to maintain quality when printed on metal.
**Step 3: Image Requirements**
Follow these guidelines for your image submission:
– File Format: JPG, PNG, or TIFF.
– Max File Size: 30 MB.
– Preferred Resolution: At least 3000×3000 pixels for standard-sized Displates.
**Step 4: Uploading the Artwork**
Access the Custom Displate section on the website, and upload your image. The platform might provide a preview to show how your image will look on metal. Take this opportunity to make any adjustments, such as cropping or resizing, to fit well with the Displate dimensions.
**Step 5: Customizing Your Design**
Once the image is uploaded, you may have options to customize your Displate further. This can include text overlays, changing background colors, or applying filters. Utilize these tools to ensure the design meets your vision.
**Step 6: Selecting the Size and Finish**
Displate offers various sizes and finishes to choose from:
– Sizes range from medium to extra-large, allowing flexibility based on wall space and design preference.
– Finish options typically include matte and glossy. Matte offers a non-reflective look, while glossy provides vibrancy and satin sheen.
**Step 7: Reviewing and Finalizing the Design**
Review your custom Displate thoroughly. Double-check the alignment, colors, and overall design. Ensuring accuracy at this stage is crucial since this affects the final output.
**Step 8: Placing Your Order**
Add your custom Displate to the cart and proceed to checkout. Ensure all details, including shipping address and payment information, are correct. Displate usually provides free shipping options and various payment methods for convenience.
**Step 9: Handling and Displaying Your Displate**
Once your Displate arrives, use the included magnetic mounting kit for installation. This system allows for easy installation without damaging your walls, and as a bonus, you can effortlessly change or rearrange your Displates.
### Tips for Enhancing Your Custom Displate Experience
– **Consistency**: If planning a multi-piece display, maintain a consistent theme through color schemes or subject matter.
– **Lighting**: Position your Displate in well-lit areas to emphasize colors and details.
– **Arrangement**: Experiment with various layouts. If using multiple Displates, consider a gallery-style arrangement for dynamic wall art.
### Conclusion
Creating a custom Displate is a straightforward but creatively rewarding process. It empowers you to create personalized wall art that reflects your individuality and style. By following this guide, you can design pieces that are not only aesthetically pleasing but also durable and easy to maintain, transforming your living or workspace into a curated gallery of personal expression.